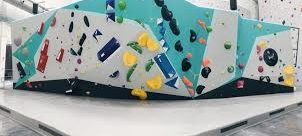
There are LOADS to cover if we were to talk about each and every climbing gear available, so we will just touch briefly on the most common few gears that are used for SNCS Levels 1 to 3 and SNAS Level 1 and 2 courses.
Rock Climbing Shoes
Rock climbing shoes are essential for any climber – be it whether doing top rope, lead climbing, or bouldering, unless you wish to loss several layers of skin on your feet! The base of the shoe is made out of rubber, which helps to maintain friction on the wall, and various types of rubber are used – from the lower end basic rubber, to higher end “branded” rubber. The rest of the shoe may be made out of leather, synthetic materials, or a mix of both.
There are a host of rock shoe brands on the market, with some brands such as “La Sportiva”, “Five-Ten”, “Butora” and “Evolv” being the common brands that we see professional climbers using. Rock shoes range from basic beginner shoes, which tend to have a flat sole and have a wider toe box so that they are more comfortable to wear for the climber; to advanced shoes such as those that are more downturned, and have a sharper tip to allow for better smearing; as well the no edge technology shoes, which are touted to be better for edging and smearing.
Some people say that the type of shoe used does not determine how good a climber you are, because if you’re a good climber, even the cheapest of shoes can help you send the hardest the routes! But… we shall leave it up to the personal choice of each climber. 😀 Check out REI’s summary of rock shoes of the different types of rock shoes and how to choose the right type for yourself!
Harnesses
Harnesses are required for top rope and lead climbing, but not for bouldering. It is important to ensure that harnesses are worn correctly, and that the harness is intact, as it literally IS YOUR LIFE, especially when you take a fall. Harnesses are made out of reinforced woven material and can withstand high impact if worn correctly.
Different types of harnesses exist in the market – from the child full body harnesses, to activity harnesses, harnesses meant for outdoor expeditions (tend to be light weight), and those with and without adjustable leg loops (adjustable leg loops are helpful when you go outdoor climbing and may be wearing a thicker layer of clothing).
The basic components to each harness typically consists of:

- Waist belt – This should be the first thing to be tightened when putting on a harness, and should be worn as high as possible and pulled tight. It may be adjustable on just one side (like the Petzl Hirundos), or both sides (like the Petzl Luna)
- Leg loops – These should be tightened after the waist belt is tightened. It may or may not be adjustable, depending on the type of harness used. For example, the Petzl Selena does not have adjustable leg loops, and are typically used for indoor and outdoor summer climbing where thick layer of clothing need not be worn.
- Belay loop – This is where the carabiner with the belay device is attached to for the belayer. It is strongly reinforced and even if one reinforcement of the belay loop fails, often the remaining reinforcements are sufficient to ensure the climber’s safety (if they are intact, of course!). For those using activity harnesses, the belay loop is also where the rope is tied in for the climber.
- Tie in loops – There are two tie in loops on each harness (except for activity harnesses), one above and below the belay loop. The rope should be passed through BOTH tie-in loops for the climber. Personal anchoring systems are often attached through the tie in loops too using a Girth Hitch.
- Gear loops – The number of type of gear loops varies depending on the type of harness used. Some are reinforced and able to take a larger amount of weight, while the remaining are typically only meant for hanging of climbing gear such as quickdraws, carabiners, accessory cords etc.
A common question asked is how long a harness can be used for. Manufacturers of harnesses typically provide a “shelf life” of how long they would recommend the harness to be used for, however, this is also highly dependent on how often the harness is used, how well kept the harness is, how many big falls the harness has had to endure, and of course, whether there are any major “injuries” to the harness – this is especially so for those who do more outdoor climbing which exposes the harness to harsher elements, as well as rougher and sharper rocks. So all in all, I guess the answer is – it really depends!! If in doubt, you can always seek further opinion from an expert who can inspect the harness; or if you really do doubt the integrity of your harness, just change it!!! (Of course some may use this as an excuse just to buy a nicer newer harness :P)
Carabiners
Unlike those carabiners you often see being sold in stationery shops, or those hung on water bottles, climbing carabiners are specially reinforced to be able to take typically 10-20 kilonewtons of forces (1 kilonewton = ~101 kilograms) IF used correctly.
Carabiners can be used for several purposes – belaying/rapelling, and use in quickdraws. The carabiners for quickdraws do not have locking properties, as it would be difficult to try and unlock a quickdraw when climbing just to clip in the rope and then lock it back again! We shall cover more on quickdraws later on.
The parts of the carabiner include the basket, the nose, the gate with lock, and the spine.

Carabiners are meant to be loaded along their longitudinal length (from the basket to the opposite end), and NOT the horizontal length (gate to spine). Using a carabiner incorrectly is potentially hazardous as the gate of the carabiner is often not suited to take large amounts of impact forces.
There are several variations of locking carabiners for belaying and rapelling available on the market these days – screw lock, twist lock/auto lock, magnet gate, etc. Outdoor gear lab provides a cool summary and comparison of the various types of carabiners in the market currently! Petzl also covers their different carabiner locking systems here.
Belay Devices
Belay devices, are devices that essentially help the belayer to belay a climber more easily. It uses physics of diversion of forces to help transfer the weight of the climber, and provides friction, such that the belayer is better able to catch and lower the climber, even if the climber may be of a heavier weight.
Traditional belay devices include the stitch plate, figure of 8, and tubular fricture belay devices or what we may know more commonly as ATC.
A little known fact is that ATC actually stands for “Air Traffic Controller”, and refers to the model of a belay and rappel device manufactured by Black Diamond Equipment. The ATC was such a popular device after the stitch plate and figure of 8, that the term ATC became synonymous for all tubular devices that were subsequently created by other climbing gear equipment companies as well.
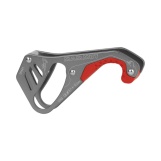
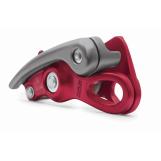
Since the introduction of assistive braking devices (ABDs), ATCs are seldom used anymore, as ABDs are purported to be safer due to the automated locking functions. However, there are of course still a camp of firm believers of the ATC who still prefers the versatility of an ATC. Some examples of ABDs in the market now include Petzl’s GriGri+, Mammut’s Smart Device, Mad Rock’s Lifeguard, Salewa’s Ergo and Edelrid’s Megajul.
It is important to note that the “A” in ABD stands for “Assisted” and NOT “Automatic”. Accidents can still happen if the user is unfamiliar with using the device. ABDs uses ergonomics and directions of force to help brake the fall of the climber, and allows a more controlled descent of the climber by the belayer as there is more friction from the device.
Remember, any device can be UNSAFE in UNSAFE HANDS.
Chalk
Chalk, which is made out of magnesium carbonate, is used as a drying agent by climbers to tackle those pesky sweaty palms, similar to those used by gymnasts. It is available in several different forms – loose chalk, chalk ball (loose chalk within a semi-permeable pouch) which may or may not be refillable, liquid chalk, and chalk blocks.
Indoor climbing gyms tend to discourage the use of loose chalk, as they can be difficult to clean up when spilled on the gym floors. Most gyms in Singapore prefer the use of chalk balls instead, so climbers can choose to buy non-refillable chalk balls, or refillable chalk balls and just fill them back up with loose chalk once they are empty. Liquid chalk may also be used, as they tend to last longer. These contain magnesium carbonate mixed with alcohol, and professional climbers are known to use this as a base layer, before using loose chalk. Again, many different brands of chalk are available on the market, with some even being scented!!!!
Chalk Bags & Bucket
Chalk bags are used to allow the climber to have chalk with them while they are climbing. Chalk buckets, as their name suggests, are larger and literally like “buckets”, able to contain a larger amount of chalk. Chalk buckets are often used by boulderers, as some may not choose to carry chalk bag with them while doing short boulder routes.
Customizable chalk bags are increasingly becoming popular, and it is not uncommon to see climbers on the walls of Singapore gyms with plushies that have been converted to chalk bags. Interested to get one yourself? Check out Chalk’em Up! A new enteprise set up by Eileen Soon, one of our RockerFellas Administrators.
Quickdraw
Quickdraws are used in lead climbing, where the rope is not pre-set up for that particular climbing route. Quickdraws are clipped into hangers, typically bolted onto the walls already; or in trad climbing, to traditional protection devices. Once the quickdraws are put up, it allows the climber to clip in the rope as they send the route.
The main components to a quickdraw are:

- Straight gate top carabiner
- Dogbone
- Keeper (rubber stopper to prevent bottom carabiner from moving) – may not be seen on all quickdraws as some just have reinforcements to prevent movement of the carabiner the
- Bent gate bottom carabiner
The straight gate carabiner is clipped to the anchor, while the bent/curved gate is the end that the climber will put the rope through, as it is a smoother process to clip rope through a surface that is bent in and less force will have to be used.
Quickdraws can be of different lengths, or multiple quickdraws may be linked together, if a longer length is required, such as during a particularly overhang part of the wall or a roof. This helps to reduce drag to the rope when the climber is being lowered, which can cause damage to the rope.
Climbing Helmets
Climbing helmets are recommended for outdoor climbing, in the event of any rockfall or untoward accidents. They typically are not required in indoor gyms, except in certain unique situations, such as during certification courses (SNCS Levels 2 and 3 require the use of helmet during the course).
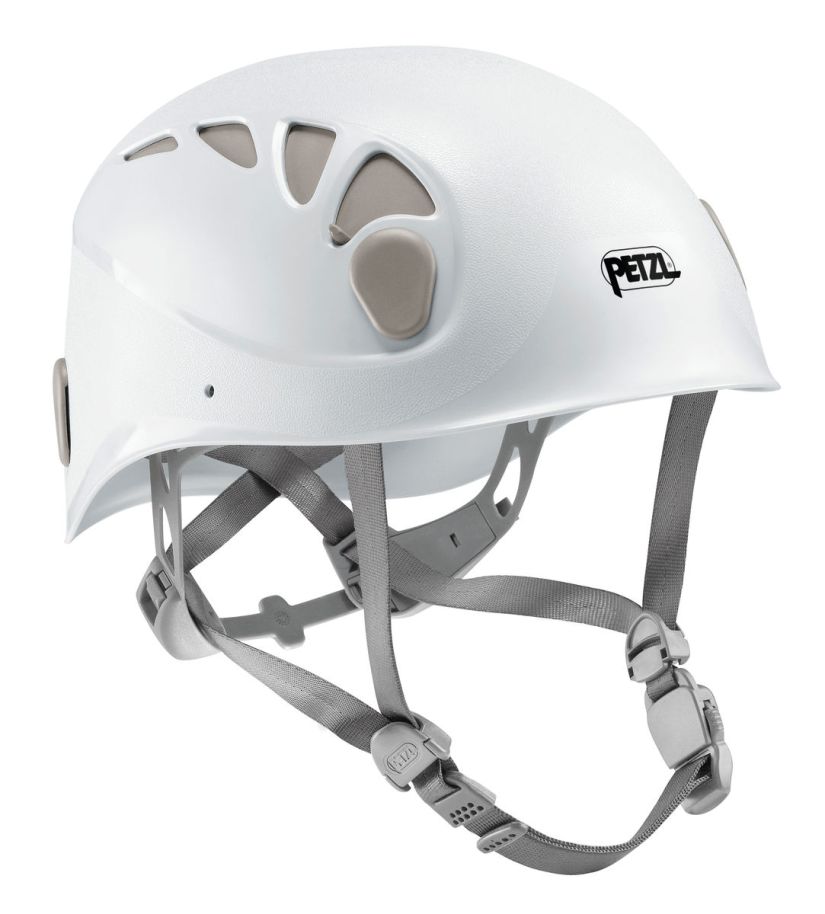
Unlike bike helmets, climbing helmets tend to provide more protection to the back of the head, as well as the sides of the head, which can help cushion impact should a climber/belayer crash head first into a wall or in the event of rock fall. Helmets have UIAA and CE certifications and these determine suitability of the helmet for various sports, be it climbing, cycling, skateboarding or skiing.
Traditional Protection Devices
Traditional protection devices are used in trad climbing, where there are no anchors and bolts set up on the intended wall to climb. Some examples of traditional protection devices are cams, nuts and hex.
These are often placed in cracks or any place that can securely contain the devices. Refer to our writeup on Traditional/Trad Climbing for more details on how these devices are used!
This article from REI also provides a good overview on how to safely place a trad pro device.


